Autocomplete
On this page

Code summary
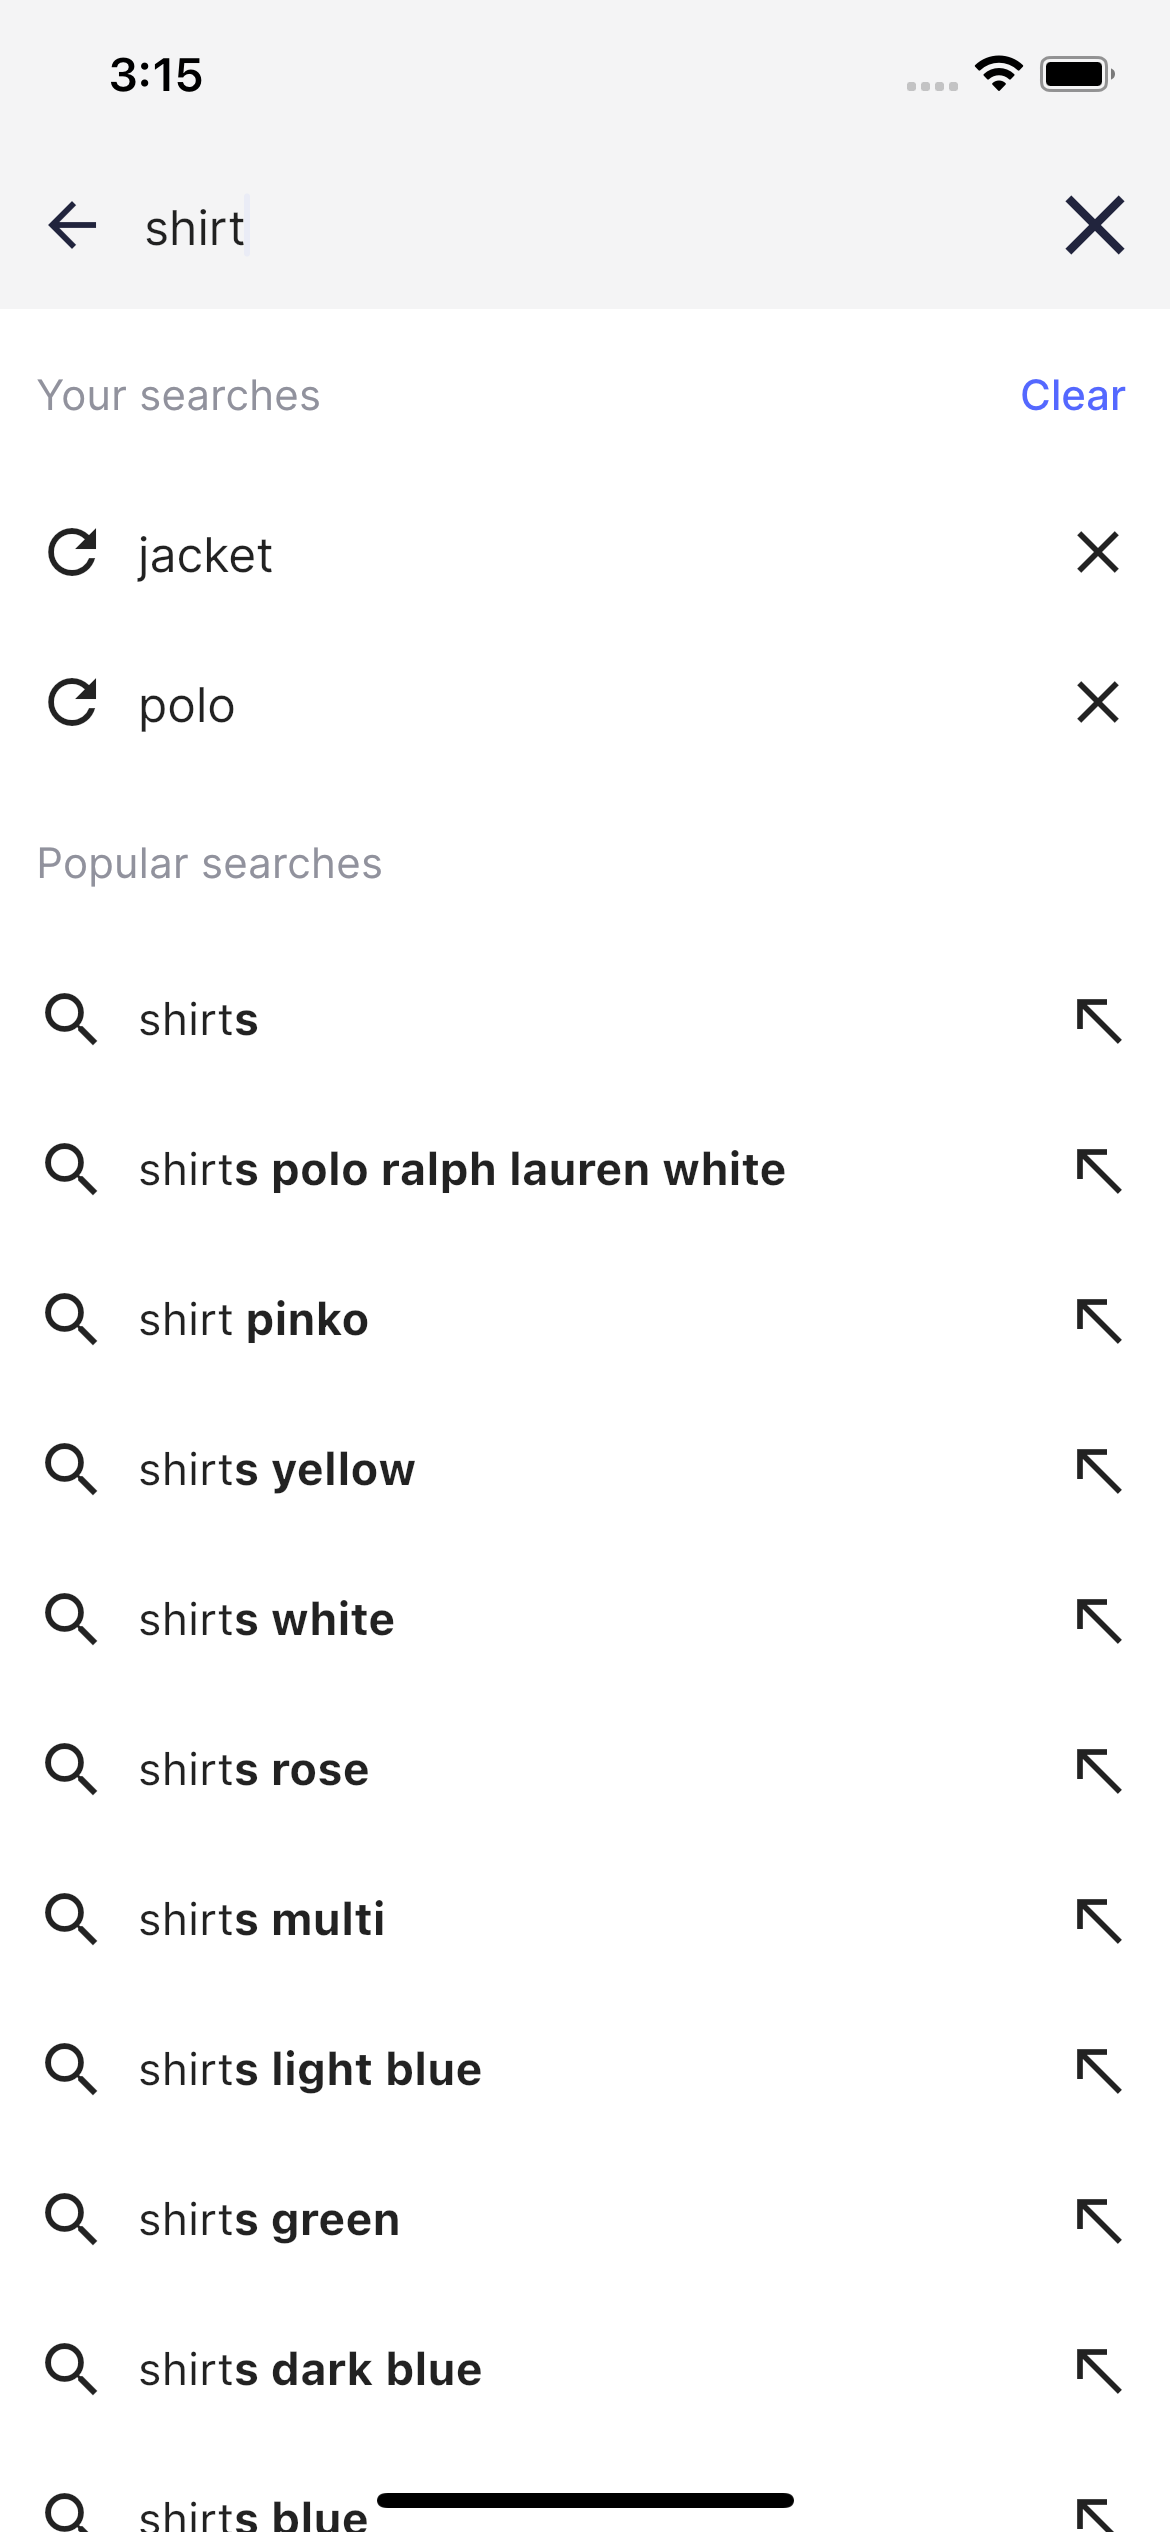
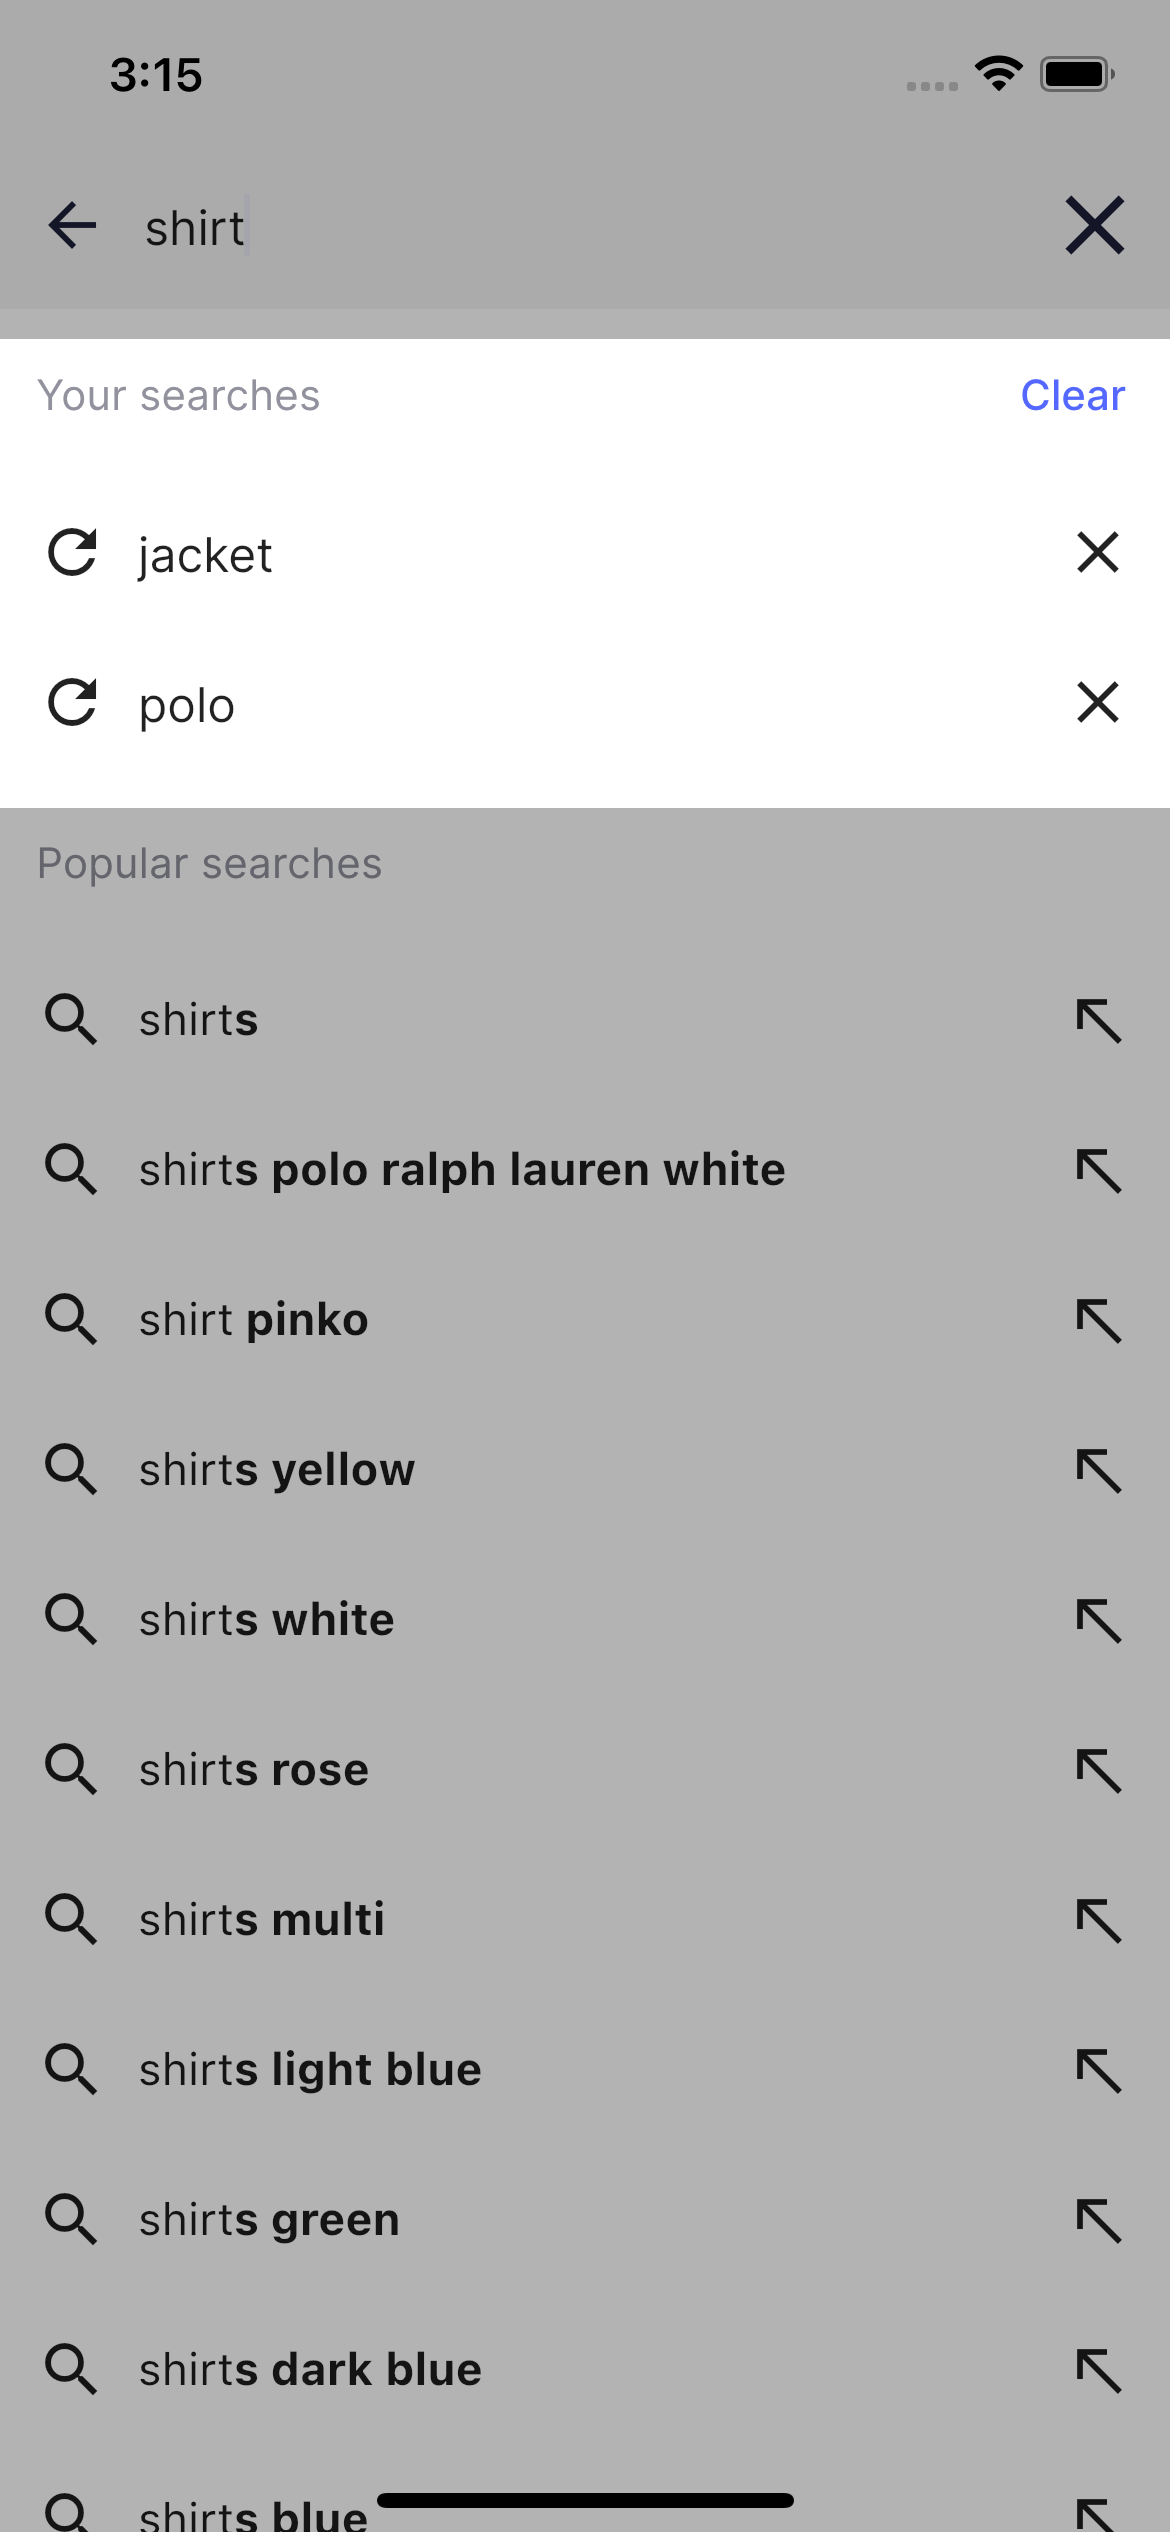
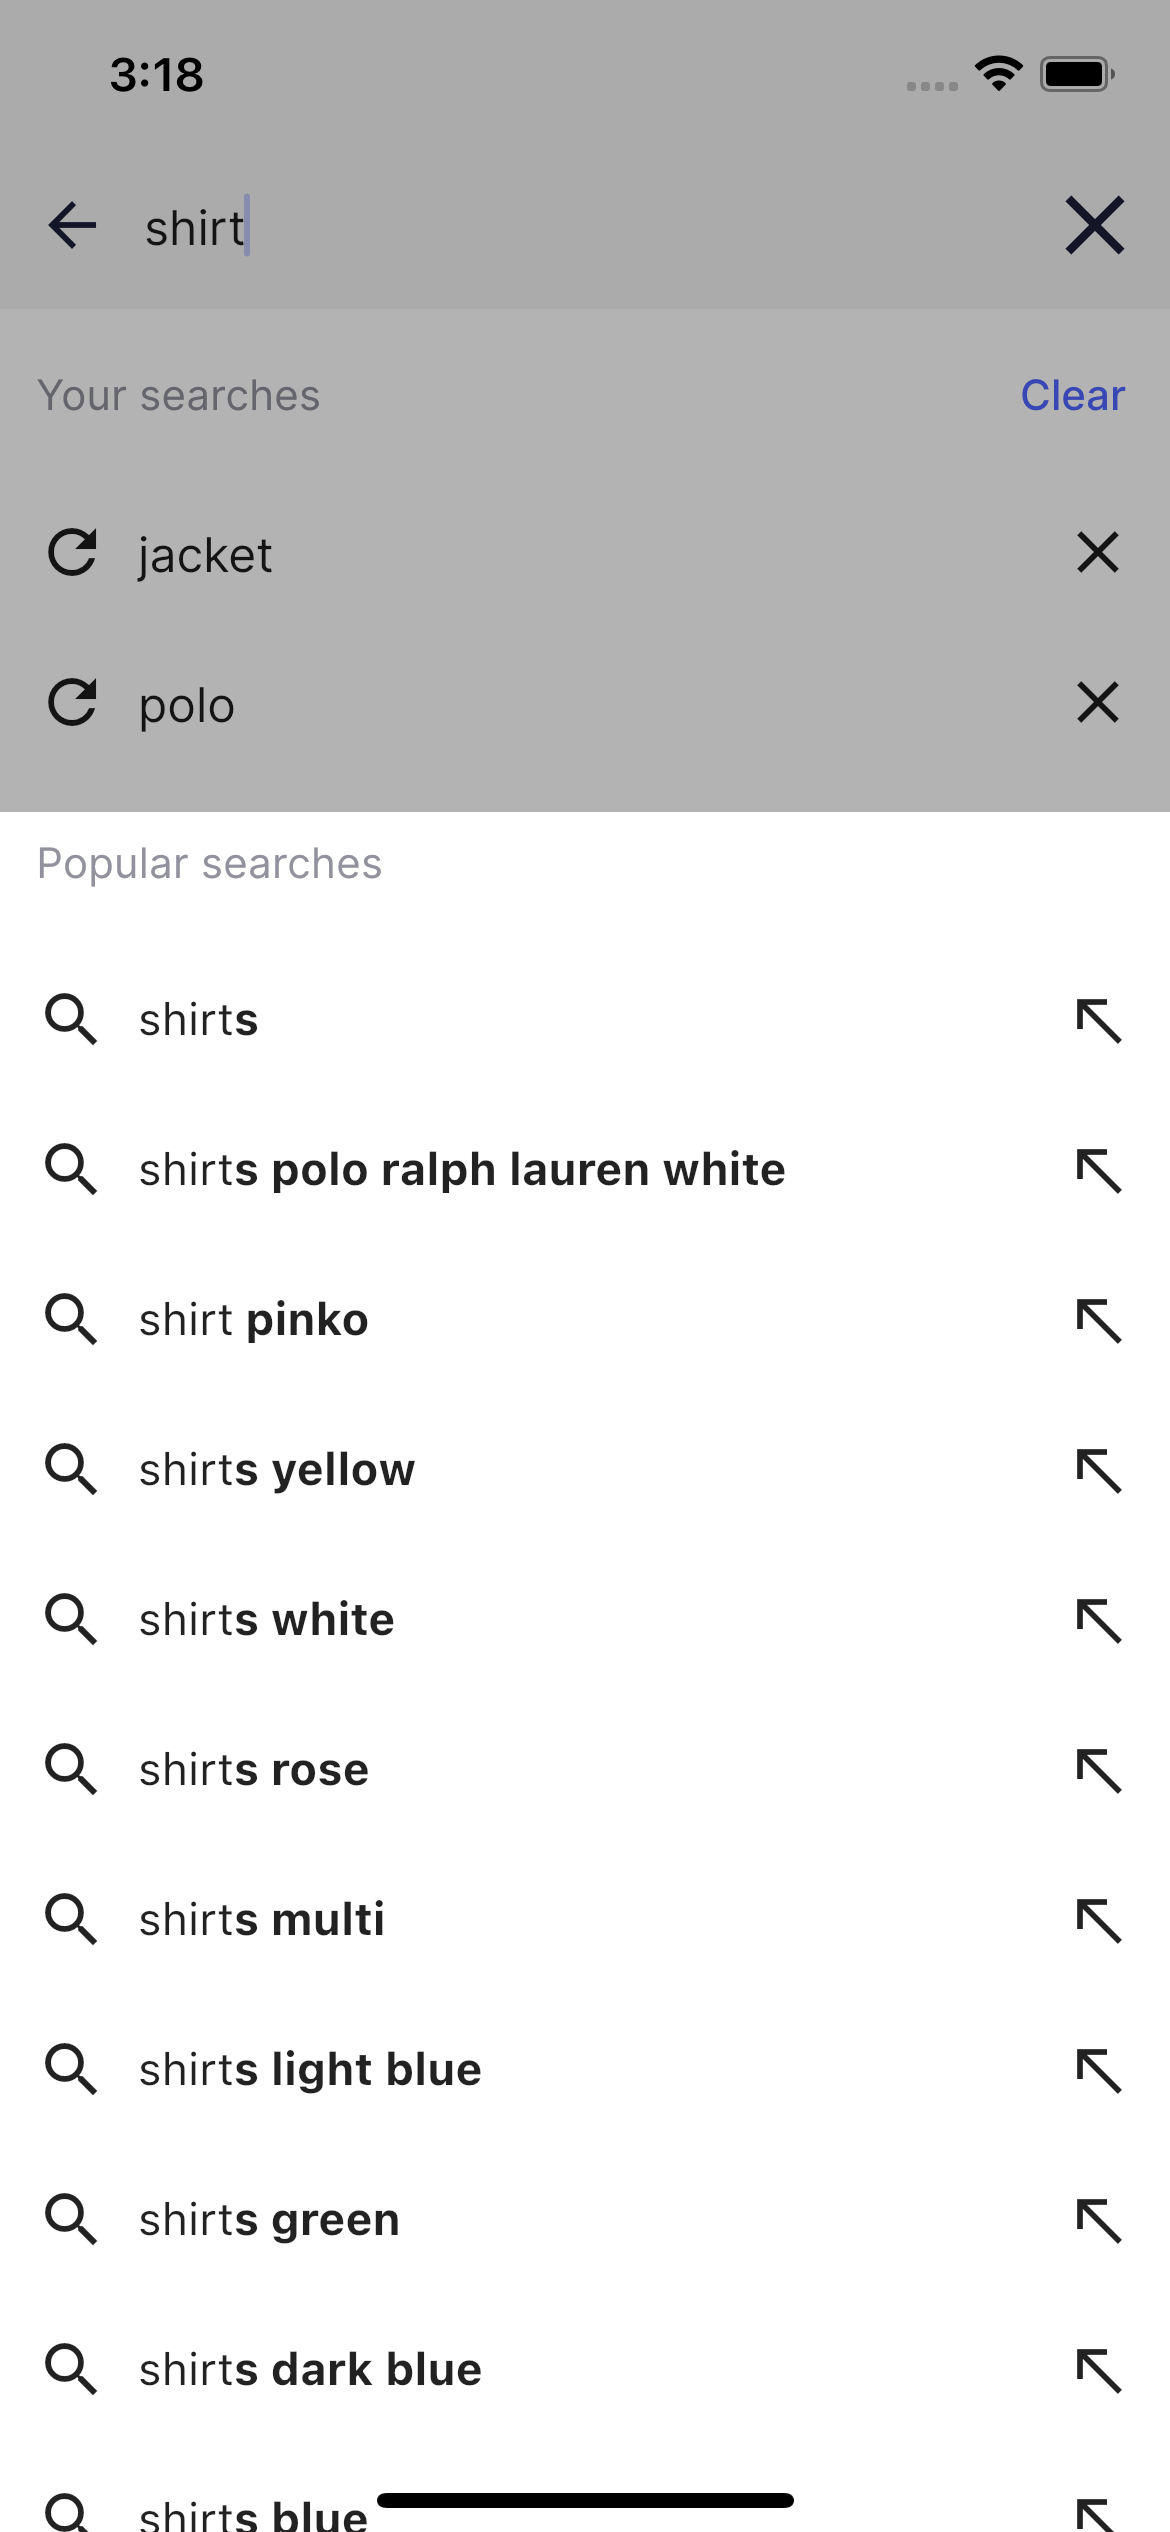
The Autocomplete component is used on the Ecommerce UI demo app search page when you tap the search bar in the main page. It consists of two sections: one presenting the search history and the second one presenting the query suggestions.
The AppBar includes SearchHeaderView` widget representing the search box on the autocomplete screen.
1
2
3
4
5
6
7
8
9
10
11
12
13
14
15
16
17
18
19
20
21
22
23
24
25
26
27
28
29
30
31
32
33
34
35
36
37
class SearchHeaderView extends StatelessWidget {
  const SearchHeaderView({Key? key, required this.controller, this.onSubmitted})
      : super(key: key);

  final TextEditingController controller;
  final ValueChanged<String>? onSubmitted;

  @override
  Widget build(BuildContext context) {
    return Row(
      children: [
        IconButton(
            onPressed: () => Navigator.pop(context),
            icon: const Icon(Icons.arrow_back)
        ),
        Expanded(
          child: TextField(
            controller: controller,
            autofocus: true,
            onSubmitted: onSubmitted,
            decoration: const InputDecoration(
              border: InputBorder.none,
              hintText: "Search products, articles, faq, ..."),
          ),
        ),
        if (controller.text.isNotEmpty)
          IconButton(
            iconSize: 34,
                  onPressed: controller.clear,
                  icon: const Icon(Icons.clear),
                  color: AppTheme.darkBlue
              ),
        const SizedBox(width: 0)
      ],
    );
  }
}
Each section consists of couple of SliverAppBar and SliverList components representing the section header and section body respectively.
1
2
3
4
5
6
7
8
9
10
11
12
13
14
15
16
17
18
19
20
21
List<Widget> _section<Suggestion>(Widget title, List<Suggestion> items, Function(Suggestion) rowBuilder) {
  return [
    SliverAppBar(
        titleSpacing: 0,
        titleTextStyle: Theme.of(context).textTheme.subtitle2,
        title: title,
        automaticallyImplyLeading: false),
    SliverList(
        delegate: SliverChildBuilderDelegate(
      (BuildContext context, int index) {
        final item = items[index];
        return SizedBox(
            height: 50,
            child: InkWell(
                onTap: () => _submitSearch(item.toString()),
                child: rowBuilder(item)));
      },
      childCount: items.length,
    ))
  ];
}
The first section represents the search history. All the submitted search queries are stored in the autocompelte screen state. User can delete each history item or remove them all by tapping the corresponding button in the section header.

Each history row is represented by a HistoryRowView
1
2
3
4
5
6
7
8
9
10
11
12
13
14
15
16
17
18
19
20
21
22
class HistoryRowView extends StatelessWidget {
  const HistoryRowView({Key? key, required this.suggestion, this.onRemove})
      : super(key: key);

  final String suggestion;
  final Function(String)? onRemove;

  @override
  Widget build(BuildContext context) {
    return Row(children: [
      const Icon(Icons.refresh),
      const SizedBox(
        width: 10,
      ),
      Text(suggestion, style: const TextStyle(fontSize: 16)),
      const Spacer(),
      IconButton(
          onPressed: () => onRemove?.call(suggestion),
          icon: const Icon(Icons.close)),
    ]);
  }
}
The second section represents the query suggestions. By default it shows the list of popular searches. When user starts typing a search query the list is refreshing automatically and presents the highlighted search completions.

Each suggestion row is represented by a SuggestionRowView:
1
2
3
4
5
6
7
8
9
10
11
12
13
14
15
16
17
18
19
20
21
22
23
24
25
class SuggestionRowView extends StatelessWidget {
  const SuggestionRowView({Key? key, required this.suggestion, this.onComplete})
      : super(key: key);

  final QuerySuggestion suggestion;
  final Function(String)? onComplete;

  @override
  Widget build(BuildContext context) {
    return Row(children: [
      const Icon(Icons.search),
      const SizedBox(
        width: 10,
      ),
      HighlightedTextView(
          highlighted: suggestion.highlighted!,
          isInverted: true),
      const Spacer(),
      IconButton(
        onPressed: () => onComplete?.call(suggestion.query),
        icon: const Icon(Icons.north_west),
      )
    ]);
  }
}
The highlighting of the suggestion row is possible through HighlightedTextView widget
1
2
3
4
5
6
7
8
9
10
11
12
13
14
15
16
17
18
19
20
21
22
23
24
25
26
27
28
29
30
31
32
33
34
35
36
37
38
39
40
41
42
43
44
45
46
47
48
49
50
51
52
53
54
55
56
57
class HighlightedTextView extends StatelessWidget {
  final String highlighted;
  final String preTag;
  final String postTag;
  final bool isInverted;
  final TextStyle regularTextStyle;
  final TextStyle highlightedTextStyle;

  const HighlightedTextView(
      {Key? key,
      required this.highlighted,
      this.preTag = "<em>",
      this.postTag = "</em>",
      this.isInverted = false,
      this.regularTextStyle = const TextStyle(
          fontWeight: FontWeight.normal, color: Colors.black87, fontSize: 15),
      this.highlightedTextStyle = const TextStyle(
          fontWeight: FontWeight.bold, color: Colors.black87, fontSize: 15)})
      : super(key: key);

  @override
  Widget build(BuildContext context) {
    List<HighlightedString> strings = [];
    final re = RegExp("$preTag(\\w+)$postTag");
    final matches = re.allMatches(highlighted).toList();

    void append(String string, bool isHighlighted) {
      strings.add(HighlightedString(string, isHighlighted));
    }

    int prev = 0;
    for (final match in matches) {
      if (prev != match.start) {
        append(highlighted.substring(prev, match.start), isInverted);
      }
      append(match.group(1)!, !isInverted);
      prev = match.end;
    }
    if (prev != highlighted.length) {
      append(highlighted.substring(prev), isInverted);
    }

    final spans = strings
        .map((string) => TextSpan(
            text: string.string,
            style:
                string.isHighlighted ? highlightedTextStyle : regularTextStyle))
        .toList();

    return RichText(
      text: TextSpan(
        style: const TextStyle(color: Colors.black87, fontSize: 15),
        children: spans,
      ),
    );
  }
}
The entire autocomplete logic can be found in the autocomplete_screen file.
You can customize Autocomplete in:

